

Hey, it's Sohail from Technical Sohail Youtube Channel.
In this tutorial, we will learn
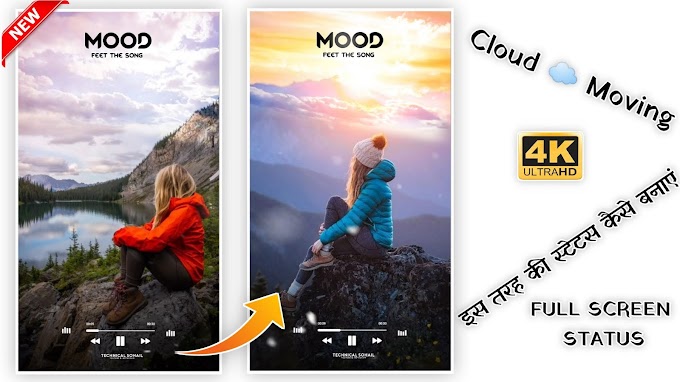
Lut Gaye Song Love Status Video Editing In Kinemaster, Video Editing Tutorial In Mobile
If you want to learn this tutorial with the help of videos then click on the thumbnail. And you will be able to see the tutorial of this video on YouTube.
You can take the help of materials for practice. You can see its link somewhere below, clicking on it, you will get the materials for reference, but here I will give you the project link, hereafter that you have to use it, but here you have to open that link, from here You have to do the entire editing carefully to get amazing output.
Let's do,
Step 1: Open Kinemaster App (Link somewhere below). You can download it from Play Store also.
Step 2: Create a new project with a 9:16 ratio.
Step 3: Now import your all images, and every image's time duration will be 3 seconds.
Step 4: Add some transitions by clicking on the plus icon, there is the various type transition available but you have to add Alpha Matte Transition or Column Fade transition, add them one by one on every image.
If you have not downloaded these transitions yet then go to the Transition effect, click on the Get more option and download these transitions.
Step 5: Now Export this video.
Step 6: Again create a new project, And add an image that looks like a white album photo (link somewhere below).
Step 7: Now add that exported video as a layer, by clicking on the layer option then media. Adjust the video at the center. Cut the extra part of that white image.
Step 8: Add the song's lyrical video as a layer at the bottom, by clicking on the layer option then media. And goto the Blending option then select the Screen option.
Step 9: Add Rose or any other flower png image As a layer.
Step 10: Then add a fire effect video and adjust it (download link somewhere below).
Step 11: Add a particle video (download link somewhere below) and change the blending option to the screen option.
Now you can Export or do more customization like add white border, or add text, or add some png, etc.
Just hit the button if you want to use these Materials for only the practice purpose of this tutorial.
Click here to Download All Materials
If you liked what you read and learned in this tutorial. Do take a moment to share it with your friends and families. & Also Subscribe to my channel Technical Sohail.
Thank you very much for reading my article. I'm glad that you've learned a lot by reading this article. Thank You!


5 Comments
No Material Your All Videos Link
ReplyDeletehttps://www.mediafire.com/folder/7nfwezogm26qj/Lut%20Gaye
DeleteGoood
ReplyDeleteNo material all videos
ReplyDeleteBhai link provide karo
ReplyDelete