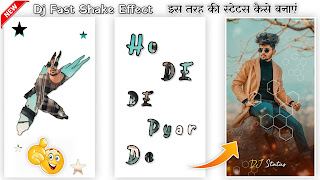
In this post, we will see
Ho De De Pyar De Dj Fast Shake Effect Status And Change Pictures Effect Editing Tutorial In Kinemaster
If you want to learn this tutorial with the help of videos then click on the image. And you will be able to see the tutorial of this video on YouTube.
You can take the help of materials for practice. You can see its link somewhere below, clicking on it, you will get the materials for reference, but here I will give you the project link, hereafter that you have to use it, but here you have to open that link, from here You have to do the entire editing carefully to get amazing output.
Let's do,
Step 1: Open the Kinemaster application and create a project and choose the 9:16 ratio.
If you have not downloaded it yet then go to the play store and search on the search bar Kinemaster and download it.
Step 2: Click on Media browse and Import your photos but, before importing your photos which photos to make a status, click on the setting option and go to the editing section, and set the Default Duration of a Photo Clip at ' 0.4 ' second and click on Fill screen. Now you can import your photos.
Step 3: After importing, click on the first image and go to the Clip Graphic option and add 01 effects of the Call Me DJ [BeatSync] effect.
If you have not downloaded this effect then scroll down your screen and click on the Get more option and you will be redirected to the kinemaster store now you can download from here.
Step 4: Add that effect in all of the photos, I mean repeat step 3 until you put that Call Me DJ effect in your all photos.
Step 5: Now export your video in 1080p resolution with a 60 Frame rate.
Step 6: Again create a project with a 9:16 ratio and import a photo.
Step 7: Now add a video as a layer which I will provide you. (Link somewhere below)
Step 8: Click on that layer video and go to Croma key option and enable it and choose the color green.
Step 9: Now cut your image at 9 seconds then add your exported video. And add a Shake it effects in between your two videos.
Step 10: Again Add ' Fire lava by Technical Sohail.mp4 ' as a layer. (Link somewhere below)
Step 11: Again Add ' Shadow video ' as a layer. (Link somewhere below)
Step 12: Finally it's time to Export.
Just hit the button if you want to use these Materials for only the practice purpose of this tutorial.
If you liked what you read and learned in this tutorial. Do take a moment to share it with your friends and families. & Also Subscribe to my channel Technical Sohail.
Thank you very much for reading my article. I'm glad that you've learned a lot by reading this article. Thank You!


1 Comments
Bhai humeb to koi khass samjh nhi lg rhi kasm sy dhondh dondh kar mar gay hum to
ReplyDelete