Hey, it's Sohail from Technical Sohail Youtube Channel.
In this tutorial, we will learn
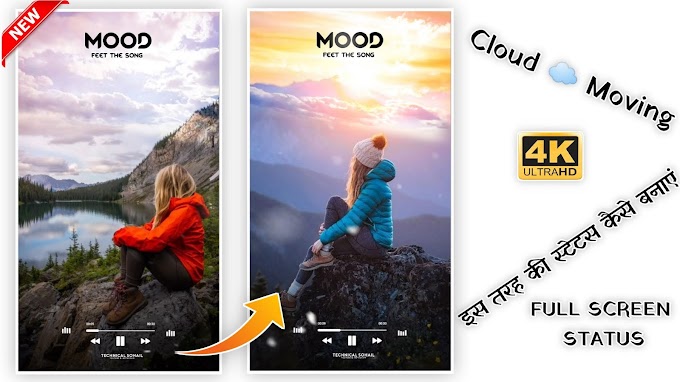
How to Make Shining In The Shade Effect For Instagram Video in Alight Motion & Kinemaster
If you want to learn this tutorial with the help of videos then click on the image. And you will be able to see the tutorial of this video on YouTube.
You can take the help of materials for practice. You can see its link somewhere below, clicking on it, you will get the materials for reference, but here I will give you two project link and Alight Motion App link, hereafter that you have to use it, but here you have to open those project, from here You have to do the entire editing carefully to get amazing output.
Step 1: Open Alight Motion App and click on the Project tab to open one them project which you have downloaded. If you have not downloaded it yet, then go down and download it. In this project, I already marked and set the music.
Step 2: After opening a project, click on the plus (+) icon and then go to the Images & Videos tab to import your image.
Step 3: After importing the images, set your images from one mark to another mark, and then tap on the image and then Move & Transform section and resize the image at the start time and end time. Basically here you will do zoom In effect on an image.
Step 4: Import the next image and repeat Step 3 until all have done. But effects will be changed in each image, if the first one is a zoom-in effect then the next one is another effect. like it may be zoom out or left to right shake effect etc.
Step 5: Now Open another project name as PROJECT 2, you can see there are two images in that project but click on the first image and go to the effects section and click on Three Dots (...) which will show on the left side down corner, click on it and copy their effect setting and leave the project.
Step 6: Now again open your project (which contains your images) and paste copied effect on one of your images. Then that image looks like an image swimming in the water. :)
step 7: Do repeatedly until done. Then you can export your video.
We'll see you next time.
If you liked what you read and learned in this tutorial. Do take a moment to share it with your friends and families. & Also Subscribe to my channel Technical Sohail.
Thank you very much for being here and reading my article. I'm glad that you've learned a lot by reading this article. Thank You!


0 Comments